
Sorry I haven't gotten an e-zine out for quite a while...I have been busy with life I guess!
Well, my wife took the kids on vacation for a few days so I went to work...er...I mean play!
Remember to be safe in all you do and don't blame me if you hurt yourself!

New Grandbaby 01-23-2009! larger pic at bottom of page
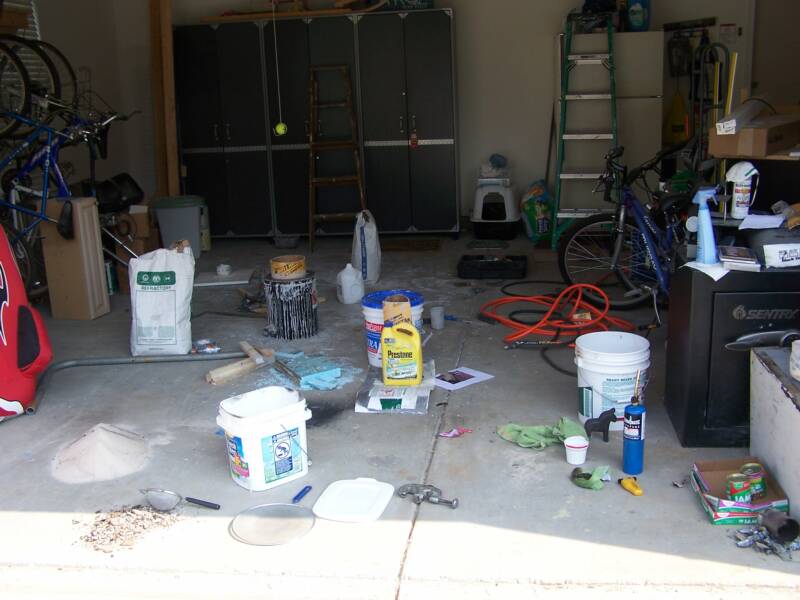
Here is a picture of our garage (where the car usually is parked) while my wife was gone. I am also working on a furnace which will be the next e-zine.
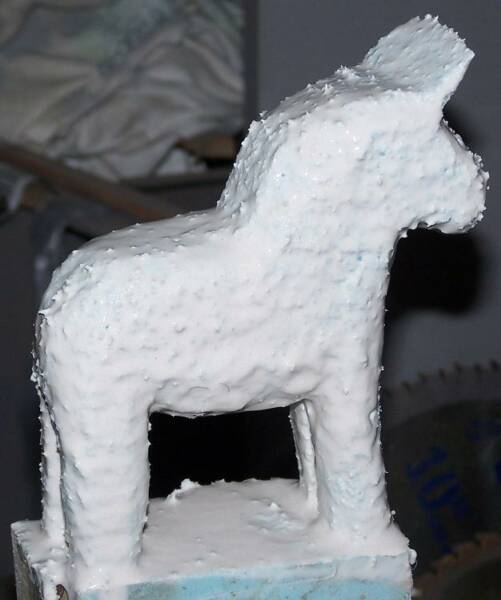
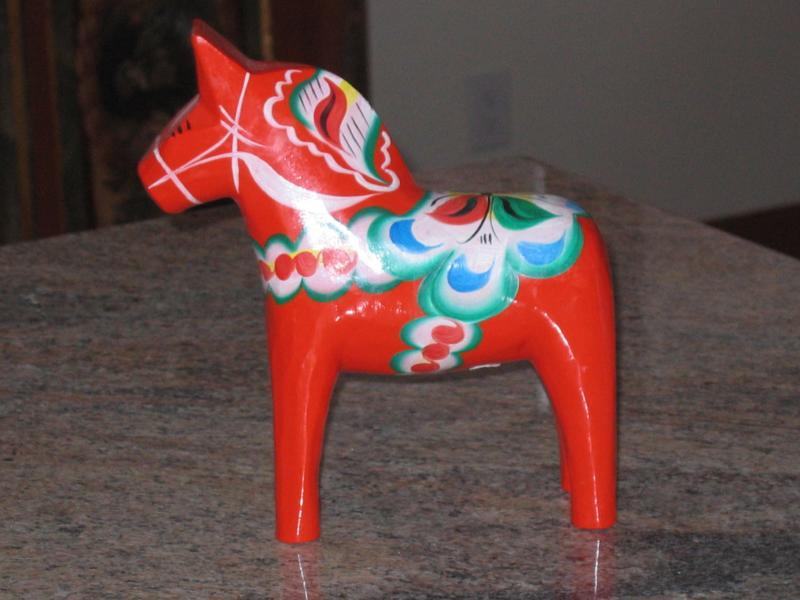
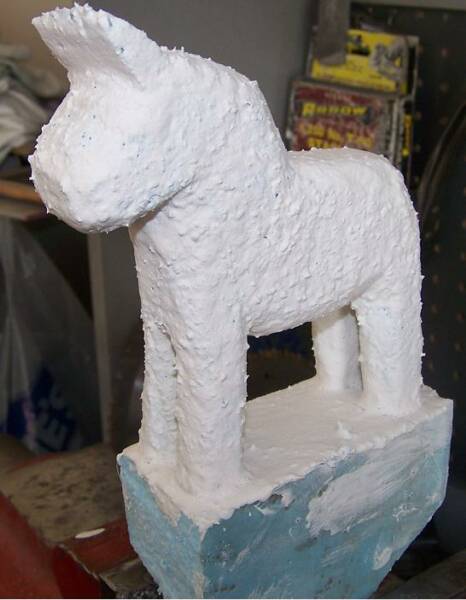
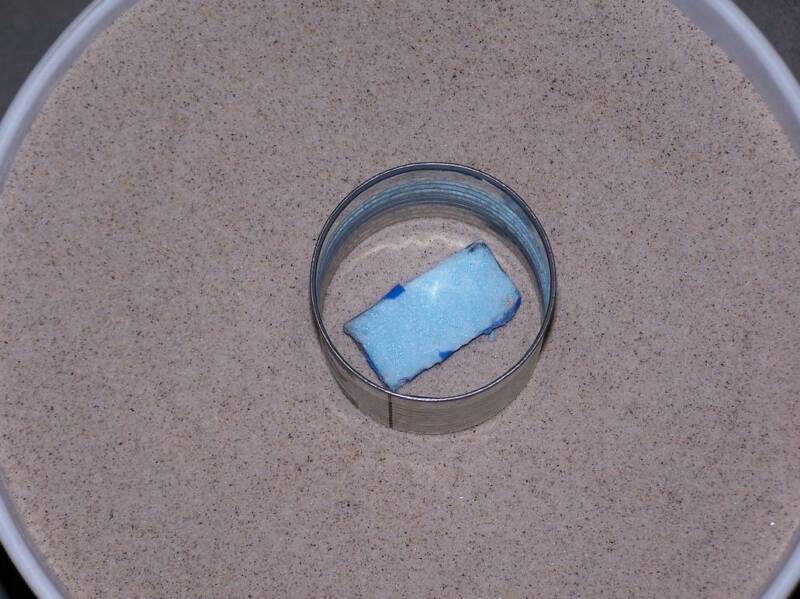
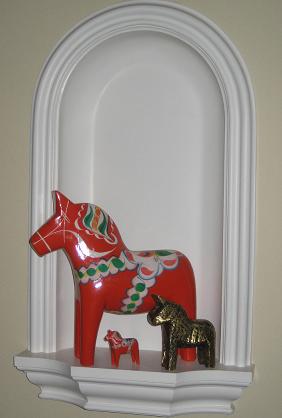
This project was inspired by one of my friends who said she wanted a Swedish horse done in metal. For this lost foam project, I used the pink insulation foam. I just noticed, you can see the foam that I cut it from in the above picture. It was a two inch thick piece that I cut with a drywall saw. I wanted a rough cut so that the surface would be pitted and would give the final piece an antique look.
I love this drywall saw because it looks so wicked!
Here is the picture I used for the pattern: And here is the piece cut out and covered with a thin coat of runny drywall mud. I used a paint brush to apply the mud.
I forgot to take a picture of it, but I put masking tape on the sprue and reservior. I feel like this helps to keep the sprue from collapsing. Here is the foam imbedded in the loose sand. I used a tin can with both ends cut off for a nice pouring funnel
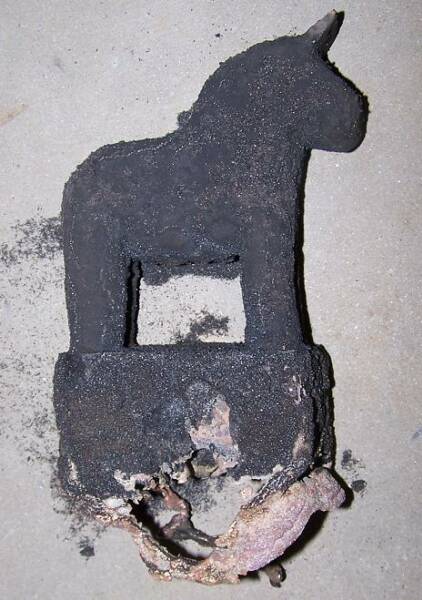
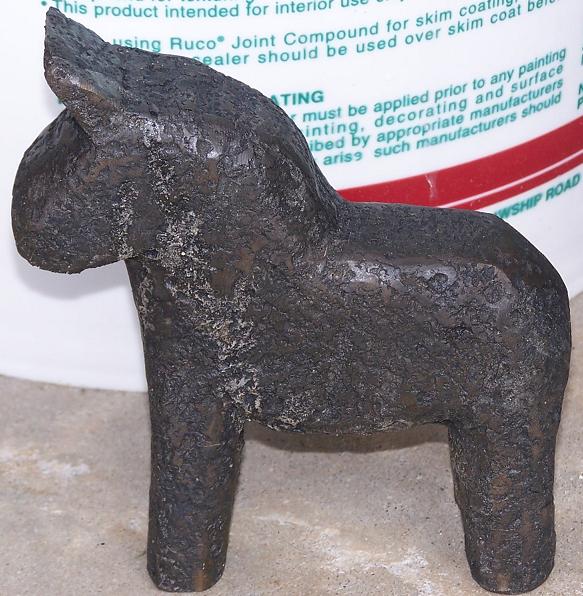
When pouring lost foam, the metal needs to be hotter than normal...especially if you are trying thin sections and/or pouring aluminum. It is also important to pour as fast as the sprue will accept the metal to keep the sprue from collapsing. I used brass plumbing fittings for this pour. I put some borax in the crucible at the start and also some crushed food grade glass. The glass makes a nice cover over the molten metal. Here is the horse right when it was pulled out of the sand...still nice and hot!
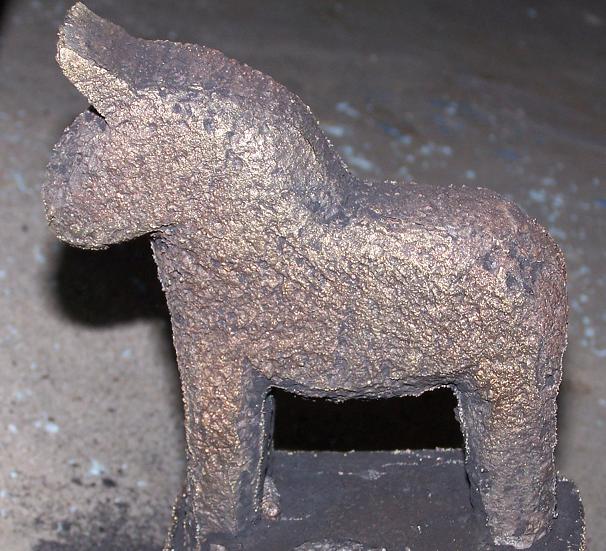
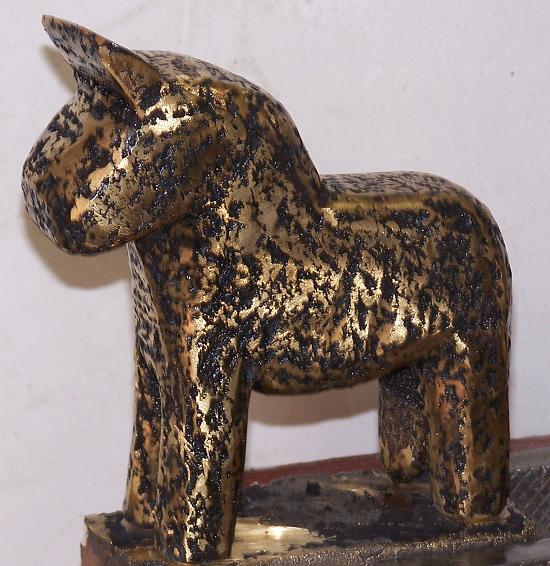
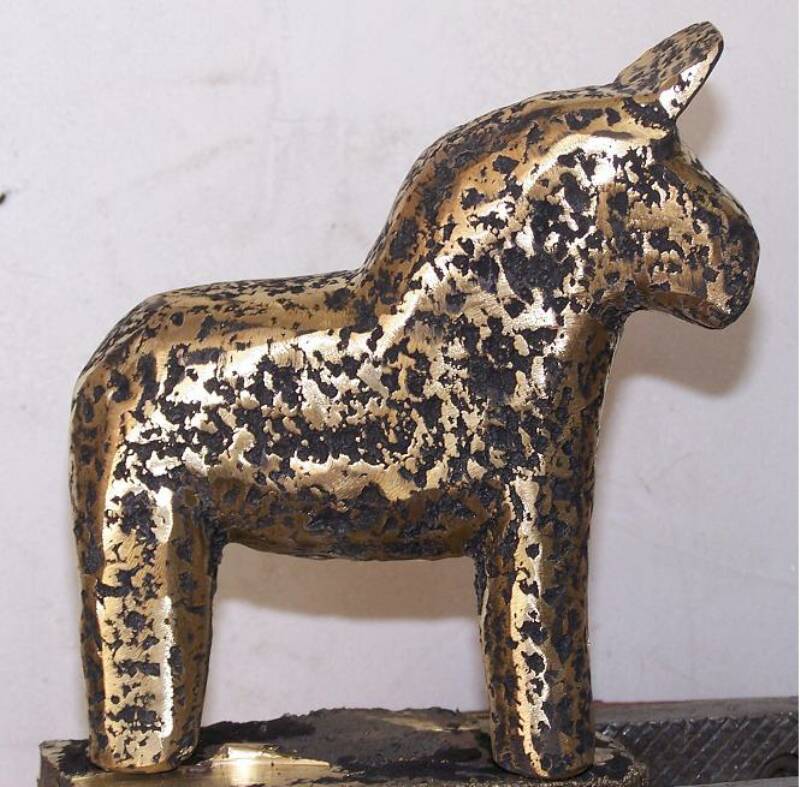
I used something called "liver of sulphur" to make it the dark color. I got it from a glass (art) shop...no one else knew what it was. It mixes with water and then, you run a torch over the brass piece while you dab it with the mixture. It took a while for the propane torch to heat this chunk of metal enough for it to work! I believe I got this idea from Ammen's book, " Metalcasting ".
This picture is of my "foundry area". I don't know why I planted flowers in my foundry!?! My furnace is made from a helium bottle. I lift the lid off with my gloves and set it on some fire bricks...This pour was done using brass plumbing fittings. This picture is right when I started the furnace, before I opened up the choke on my Mikey burner.

Please sign my guest book....This is a public guest book, so you can see comments other people left.

